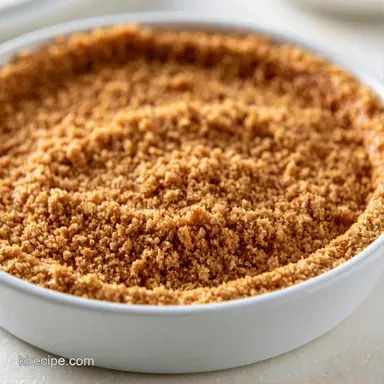
Baked Graham Cracker Crust in 20 Minutes
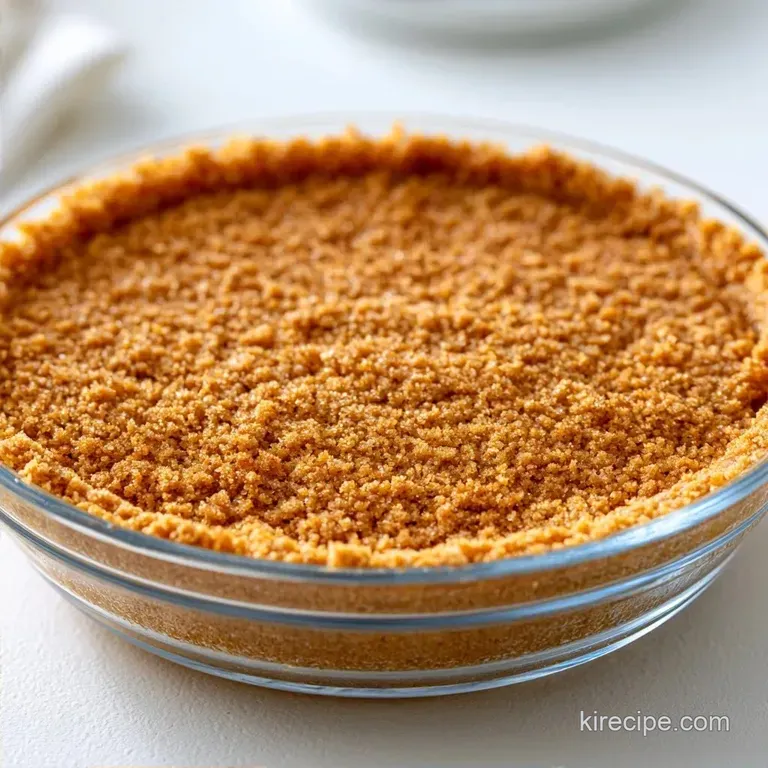
- Time: 10 min active + 10 min baking
- Flavor/Texture Hook: Toasted, nutty, and crisp
- Perfect for: Cheesecakes, cream pies, and dinner party desserts
The Easy Baked Graham Cracker Crust
That scent of toasted honey and brown sugar hitting the oven air is pure nostalgia. For many of us, this base is the foundation of every childhood potluck or holiday dinner. It's more than just a vessel for filling, it's a tradition of American home baking that relies on three humble pantry staples.
I used to think the no bake method was fine, but I've learned that the oven makes all the difference. A quick toast locks in the flavor and ensures your slice actually stays together. You get a mahogany color and a snap that you just can't get from a fridge set crust.
You can expect a base that feels like a sturdy cookie. This baked graham cracker crust holds up under heavy fillings like New York cheesecake or dense chocolate mousse without turning into a soggy mess.
Why Most Recipes Fail
- Sugar Caramelization: Baking the sugar creates a structural glue. This prevents the crust from absorbing moisture from the filling.
- Butter Distribution: Melted butter coats every crumb. This creates a water resistant barrier that keeps the base crisp.
| Method | Time | Texture | Best For |
|---|---|---|---|
| Stovetop/No Bake | 5 mins | Sandy/Soft | Quick chilled tarts |
| Oven Baked | 20 mins | Crisp/Toasted | Heavy cakes & pies |
The heat triggers a reaction between the proteins and sugars. It's what gives the crust that toasted, nutty aroma.
The Essential Recipe Specs
For a standard 9 inch pie plate or springform pan, you need a precise balance of fat and sugar. If you add too much butter, the crust becomes greasy. Too little, and it will crumble the moment you touch it.
Keep your oven at 350°F (175°C). This temperature is high enough to toast the crumbs quickly without burning the butter. I always use a flat bottomed tool to press the mixture, ensuring there are no air pockets in the base.
The Pantry List
While only three ingredients are required, the crumb quality is key. I find pulsing whole crackers myself yields a better texture. As recommended by King Arthur Baking, strive for a fine sand consistency to ensure the crust packs tightly.
- 1.5 cups (150g) Graham cracker crumbs Why this? Gives the base its honeyed, toasted flavor (Substitute: Digestive biscuits)
- 1/3 cup (65g) Granulated sugar Why this? Caramelizes during baking for extra structure (Substitute: Brown sugar for a richer molasses note)
- 6 tbsp (85g) Unsalted butter, melted Why this? Acts as the glue to create a firm crust (Substitute: Coconut oil for dairy-free)
Tools For the Job
I don't use fancy gear here. A medium bowl and a spatula are all you need for the mixing part. For the pressing, a flat measuring cup or the bottom of a juice glass works best.
If you're using a springform pan, make sure the seal is tight before you start pressing. A food processor is helpful for the crumbs, but a heavy duty Ziploc bag and a rolling pin do the job just as well.
The step-by-step Process
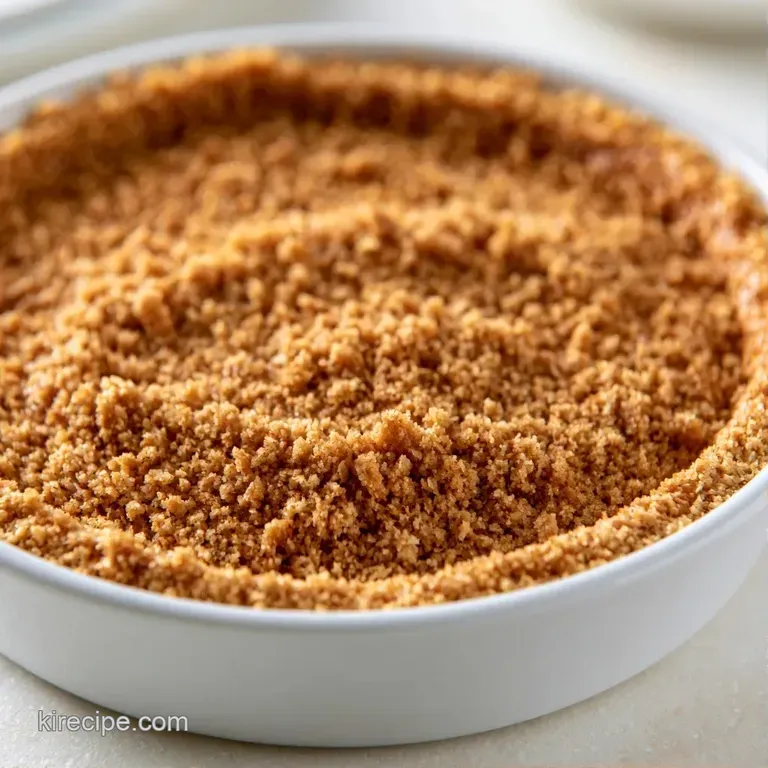
Prepare the Crumbs
Process whole graham crackers in a food processor until they are finely ground. If using a bag, crush them with a rolling pin. In a medium bowl, stir the crumbs and sugar together until evenly combined.
Combine and Press
Drizzle the melted butter over the crumbs. Stir with a spatula until the mixture resembles wet sand and no dry clumps remain. Pour the mixture into a 9 inch pie plate or springform pan. Using a flat bottomed measuring cup, press the crumbs firmly into the bottom and about 1 inch up the sides.
The Golden Bake
Set the oven to 350°F (175°C). Bake for 8 to 10 minutes until the edges turn deep golden brown and it smells nutty. Remove the pan and allow the crust to cool completely to room temperature before adding any filling.
Fixing Common Crust Issues
A soggy bottom usually happens because the crust was still warm when the filling went in. The heat from the crust can melt the fats in the filling, causing them to soak into the crumbs.
If the sides crack, it's usually because the crumbs weren't pressed firmly enough. You want to apply significant pressure, almost like you're packing snow, to ensure the structure holds.
Fix a Soggy Bottom
Let the crust cool for at least 30 minutes. This allows the butter to re solidify and create a seal.
Prevent Side Cracking
Use a flat tool to press the sides in small sections. Do not just push the crumbs in with your fingers.
| Problem | Fix |
|---|---|
| Crumbling base | Increase butter by 1 tbsp |
| Burnt edges | Reduce bake time by 2 mins |
| Soggy texture | Ensure crust is room temp before filling |
Adjusting for Different Pans
For a baked graham cracker crust for 9x13 pan, you'll need to double the ingredients. When scaling up, I find that increasing the bake time by 2-3 minutes helps the larger surface area set properly.
If you're making other baked treats, like my Blueberry Sourdough Scones, you'll notice how temperature control is just as vital here. For the crust, always keep the temperature steady at 350°F.
For gluten-free Base
Use certified gluten-free graham crackers. The ratio stays exactly the same, and the texture remains crisp.
For Vegan Alternative
Swap the butter for melted coconut oil. It provides the same fat content and a similar snap once cooled.
| Goal | What to change |
|---|---|
| Extra crunch | Bake for 12 minutes |
| Less sweet | Reduce sugar to 2 tbsp |
| Deeper flavor | Use browned butter |
Truth About Crusts
Some people say you must use a springform pan for a baked graham cracker crust. That's not true. A standard pie plate works just as well, provided you press the sides firmly.
Another myth is that you need to "blind bake" with weights. Since there's no raw flour dough to bubble up, you can just press and bake. The crumbs stay exactly where you put them.
Preservation and Waste Tips
Freeze the raw crust mixture in a sealed bag for a maximum of 3 months. When you're ready, simply press it into the pan and bake. After baking and filling, keep it in a sealed tin in the cooler for about 4 days.
Don't discard the extra cracker crumbs. I like to roll them onto the edges of cake layers or stir them into homemade granola.
Best Dessert Pairings
While perfect for cheesecakes, this crust also pairs wonderfully with banoffee or key lime pie. Those toasted honey notes are a great match for rich creams and tangy citrus.
For a unique dessert, try using this base instead of the usual flaky crust in a Classic Apple Pie. A graham cracker crust combined with apple filling is a fantastic modern twist on the original.
Recipe FAQs
What is the best way to crush graham crackers?
Pulse them in a food processor for a fine, sand like consistency. Alternatively, place them in a heavy duty Ziploc bag and crush them by hand with a rolling pin.
How do you bake a graham cracker crust?
Place the pressed crumbs in a preheated oven at 350°F (175°C). Bake for 8 to 10 minutes until the edges turn deep golden brown and smell nutty.
Is baking a graham cracker crust better than the no-bake method?
Baking is superior because it creates a sturdy, toasted wall that resists crumbling. The heat caramelizes the sugar, which acts as a structural glue for the base.
Is it true that you can't bake a pre-made store-bought graham cracker crust?
This one's false: You can bake a prepared crust to improve its texture and flavor. Just follow the package instructions or a quick toast at 350°F to set the crumbs.
Which UK alternative works best for graham crackers?
Digestive biscuits are the closest match due to their similar texture and flavor. If you enjoyed achieving a consistent texture with the crumbs, the same attention to ingredient integration helps our beef pasta stay creamy.
Baked Graham Cracker Crust