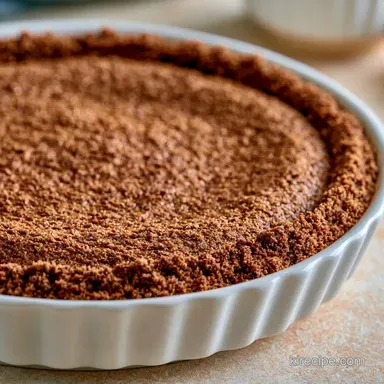
Chocolate Graham Cracker Crust with Cocoa Powder
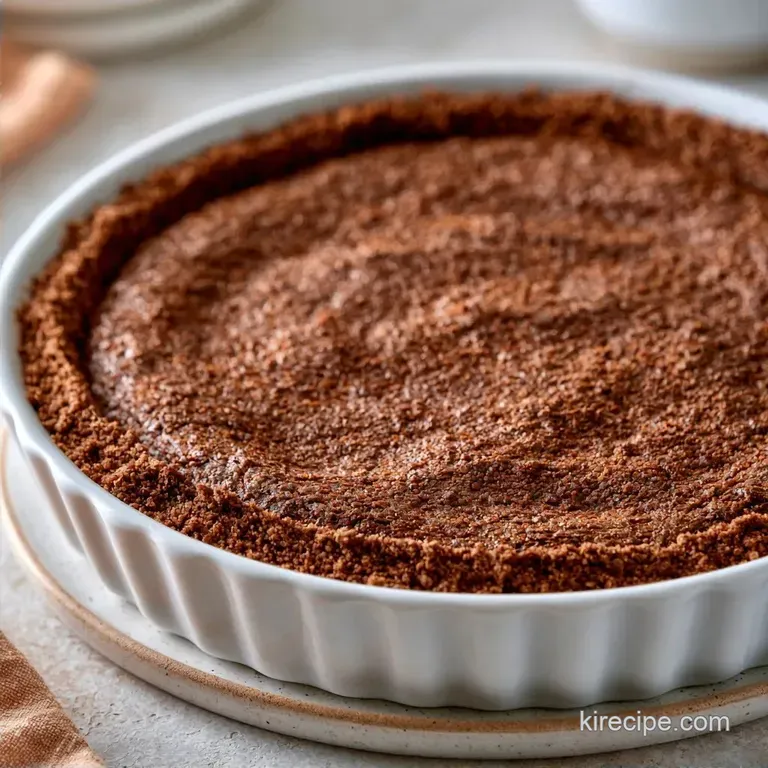
- Time: 10 min active + 10 min cook (or 15 min chill)
- Flavor/Texture Hook: Deep mahogany color with a toasted, sandy crunch
- Perfect for: Decadent cheesecakes or chocolate cream pies
Right then, imagine it's a rainy Tuesday and you've got a craving for something that tastes like a high end bakery but doesn't require a degree in pastry arts. I once tried to make a chocolate base for a dinner party using just crushed cookies and butter, but it turned into a soggy mess that slid right off the plate.
It was a disaster, and I spent the rest of the night apologizing to my guests.
That's when I realized that precision with the fat to crumb ratio is everything. Once I started weighing my ingredients in grams, the results became consistent. You don't want a crust that's too oily or one that crumbles the second your fork touches it.
This Chocolate Graham Cracker Crust is the solution to that struggle. It's got a deep, toasted flavor that anchors a sweet filling without overpowering it. We're looking for a specific mahogany hue and a snap that holds its shape.
Reasons This Recipe Wins
The Butter Bond: Melted butter coats the crumbs and then solidifies, creating a structural grid that prevents the base from sliding.
Cocoa Reinforcement: Adding cocoa powder absorbs excess moisture from the butter, which keeps the texture crisp rather than greasy.
Pressed Density: Using a flat tool to pack the crumbs removes air pockets, ensuring the walls don't collapse under the weight of a cheesecake.
| Method | Time | Texture | Best For |
|---|---|---|---|
| Oven | 10 mins | Crisp and Toasted | Baked Cheesecakes |
| Freezer | 15 mins | Dense and Fudgy | No Bake Cream Pies |
Recipe Basics
I've found that sticking to 180g of crumbs is the sweet spot for a 9 inch pan. Any less and you get gaps; any more and it becomes a brick. The key here is the 70g of butter, which provides just enough lipid coverage to bind the sugars and starches without making the crust feel heavy.
Trust me on the salt. A tiny bit of salt cuts through the richness of the chocolate and the honey in the graham crackers. It makes the whole thing taste more intentional. If you're using salted butter, you can skip the extra salt, but I prefer unsalted for better control.
The Key Components
| Component | Purpose | Substitutes |
|---|---|---|
| Chocolate Graham Crumbs | Foundation | Crushed chocolate wafers (for more richness) |
| Unsalted Butter | Binder | Coconut oil (provides a subtle tropical hint) |
| Cocoa Powder | Intensity | Melted dark chocolate (creates a denser feel) |
| Granulated Sugar | Texture | Maple syrup (results in a softer crust) |
| Salt | Taste balance | Flaky sea salt |
For the Crust Base
- 1.5 cups (180g) chocolate graham cracker crumbs Note: Offers a unique honey wheat flavor.
- 5 tbsp (70g) unsalted butter, melted Note: Serves as the critical fat binder.
- 2 tbsp (15g) unsweetened cocoa powder Note: Intensifies the chocolate notes.
- 1 tbsp (12g) granulated sugar Note: Adds a bit of sugary grit.
- 1/4 tsp (1.5g) salt Note: Keeps the chocolate from tasting one-dimensional.
Must Have Kitchen Tools
You can get away with a zip top bag and a rolling pin, but a food processor makes the crumbs much more uniform. I use a KitchenAid food processor to get that fine, sand like texture in seconds.
For the pressing stage, don't use your fingers. Use the flat bottom of a measuring cup. It applies even pressure across the bottom and allows you to push the crumbs firmly up the sides of the pan without leaving finger marks or thin spots.
Making the Crust
- Pulse the chocolate graham crackers in a food processor until they reach a fine, sand like texture. Note: Avoid over processing into a paste.
- Transfer crumbs to a mixing bowl and stir in the cocoa powder and salt.
- Pour the melted butter over the crumb mixture.
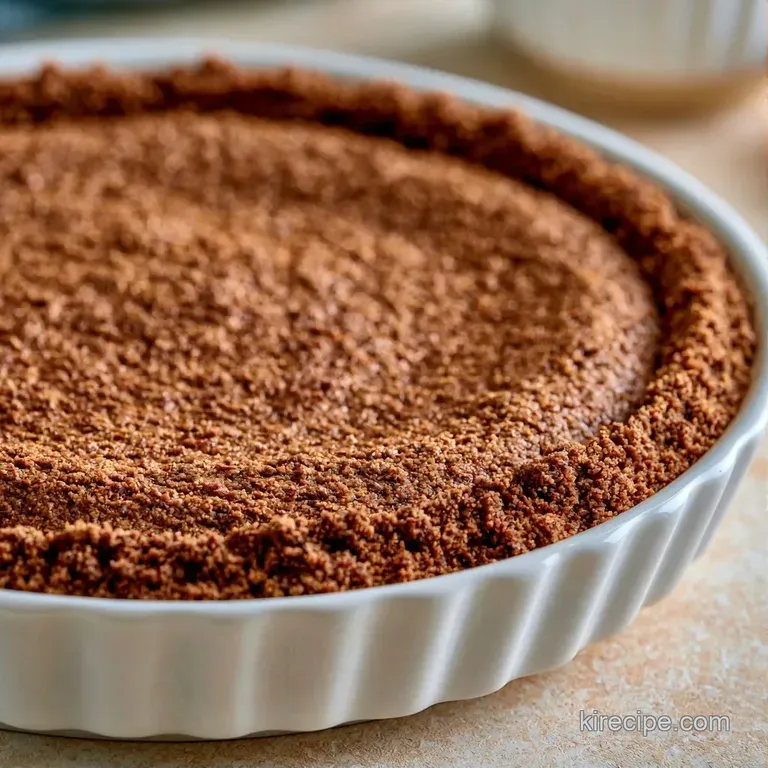
- Stir with a spatula until the crumbs are uniformly mahogany and resemble wet sand.
- Dump the mixture into a 9 inch pie plate.
- Press the mixture firmly into the base and up the sides using a flat measuring cup until the surface is smooth and compact.
- For a no bake version, place the crust in the freezer for 15 minutes.
- For a baked version, set the oven to 175°C and bake 8-10 mins until fragrant and set.
- Cool the crust completely on a wire rack before adding your filling.
Fixing Texture Problems
The Crust is Too Crumbly
This usually happens if the crumbs were too coarse or the butter didn't coat everything. If the mixture doesn't clump when pinched, stir in an extra tablespoon of melted butter. It should feel like damp sand that holds its shape.
The Bottom is Soggy
Sogginess occurs when the filling is added to a hot crust or if the filling has too much moisture. Always cool the crust completely. If you're using a very wet filling, you can try a no bake version to avoid the steam that can sometimes soften a baked base.
Gaps in the Side Walls
Air pockets in the sides lead to leaks. Use a flat bottomed tool to press the crumbs in a circular motion, ensuring the mixture is packed tightly against the glass or metal of the pan.
Keeping it Fresh
Keep the unfilled crust in a covered bowl in the refrigerator for up to 3 days. For longer storage, wrap the cooled crust in foil and freeze it for about 2 months.
Make use of the remaining crumbs at the bottom of the bag. Stir them into a smoothie or sprinkle them on vanilla ice cream for a simple treat.
Twists on the Classic
For those avoiding wheat, a gluten-free option works just as well. Just ensure your gluten-free crumbs are pulsed finely, as they can sometimes be a bit coarser than traditional ones.
- The Espresso Boost: Add 1 tsp of instant espresso powder to the cocoa. It makes the chocolate taste more intense.
- The Nutty Twist: Replace 20g of crumbs with finely ground toasted hazelnuts.
- The Vegan Swap: Use refined coconut oil instead of butter. It sets firmly in the fridge, though it lacks the creamy dairy note.
Decision Shortcut:
- For a firmer set: bake for 10 minutes instead of 8.
- For a softer bite: skip the oven and use the freezer.
- For deeper cocoa: add an extra 5g of cocoa powder.
Best Pairing Ideas
This Chocolate Graham Cracker Crust pairs exceptionally well with tart flavors. A passion fruit mousse or raspberry cheesecake provides a refreshing balance to the rich chocolate.
For a more classic option, a vanilla bean cream pie creates an elegant contrast. The dark mahogany crust looks striking against a snow white filling, making it perfect for holiday celebrations.
Recipe FAQs
How do I use regular graham crackers for this recipe?
Pulse regular graham crackers into crumbs and stir in cocoa powder and sugar. This recreates the deep chocolate profile of the original cracker.
Should you bake the crust before adding filling?
To get a sturdier and more aromatic base, bake for 8-10 minutes at 350°F (175°C). For a no-bake alternative, just pop it in the freezer for 15 minutes.
Why is cocoa powder added to the mixture?
Cocoa powder absorbs excess butter to keep the crust from becoming greasy. It also reinforces the rich mahogany color.
What desserts pair well with this crust?
This base is ideal for heavy fillings like chocolate cream pies or cheesecakes. If you enjoyed the structural stability here, see how we achieve a similar golden finish in our classic apple pie.
Which tool is best for crushing the crackers?
Use a food processor to pulse the crackers into a fine, sand like texture. If you don't have one, crush them inside a sealed bag with a rolling pin.
Is it true that a crust must be baked to avoid crumbling?
Surprisingly, no. Freezing the pressed mixture for 15 minutes sets the butter sufficiently for many fillings.
Which UK biscuit replaces graham crackers?
Digestive biscuits are the best alternative due to their similar wheat flavor and texture. Simply follow the same crushing and mixing steps.
Chocolate Graham Cracker Crust