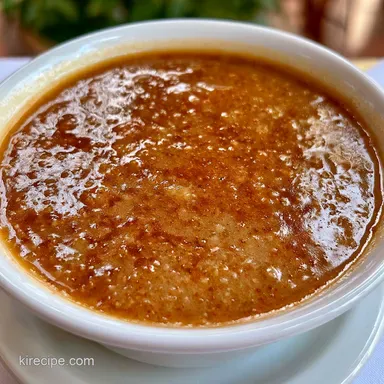
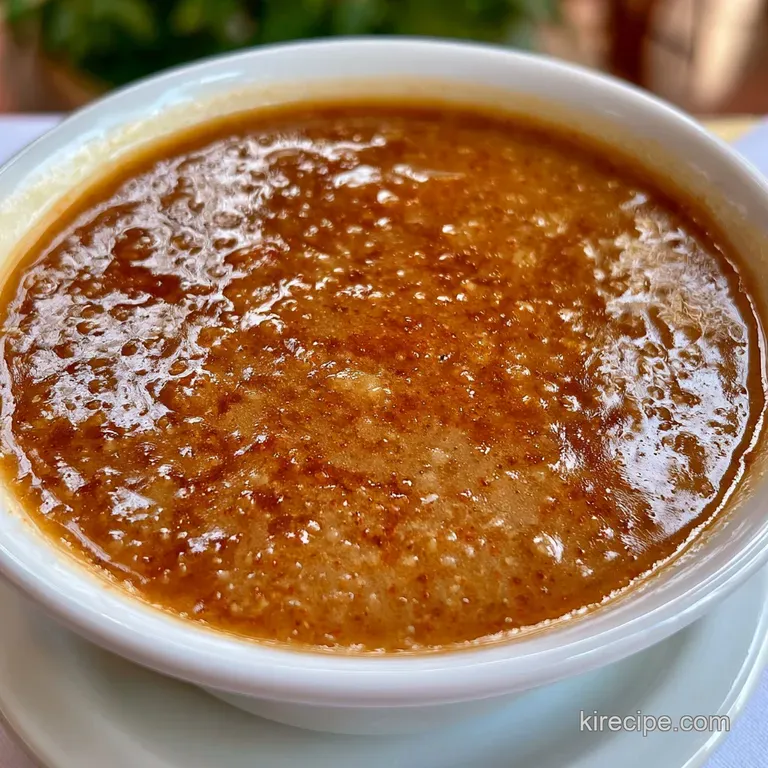
Ina Garten Turkey Gravy: Velvety and Nutty
- Time: 5 min active + 10 min cooking = Total 15 mins
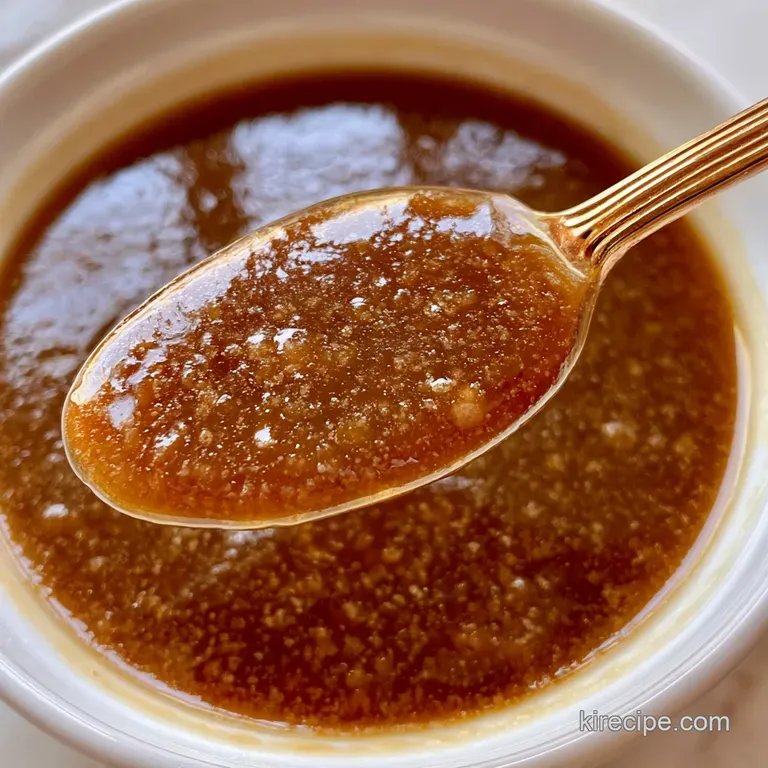
- Flavor/Texture Hook: Velvety smooth with a savory, nutty finish
- Perfect for: Thanksgiving dinner, holiday leftovers, or a Sunday roast
- Easy Ina Garten Turkey Gravy
- Why This Version Works
- Component Analysis
- Gathering Your Essentials
- Tools For Quick Success
- The Cooking Process
- Fixing Common Gravy Issues
- Troubleshooting Common Issues
- Simple Swaps And Twists
- Adjusting the Batch Size
- Gravy Truths
- Storage Guidelines
- Best Ways To Serve
- Recipe FAQs
- 📝 Recipe Card
The smell of a roasting turkey is great, but the real magic happens when that first ladle of gravy hits the mashed potatoes. For me, this is the absolute peak of the holiday meal. I remember one year where I rushed the roux and ended up with a gravy that tasted like wet flour. My whole family noticed.
It was a disaster, but it taught me that the patience you put into those first few minutes of cooking the flour determines if your sauce is just "okay" or truly memorable.
Gravy is more than just a topping; it's the cultural glue of a traditional roast dinner. It transforms a dry piece of meat into something succulent. When you make this ina garten turkey gravy, you aren't just thickening liquid, you're building layers of flavor.
We're talking about the sweetness of sautéed onions and the sharp, clean acidity of a dry white wine cutting through the heavy fats.
Expect a process that is quick but requires your full attention. You'll be whisking, watching for color changes, and tasting as you go. It's a fast 15 minute process, but it's where the "chef" happens in the home kitchen. Trust the process, and don't rush the simmer.
Easy Ina Garten Turkey Gravy
Right then, let's get into the details. This recipe is all about the balance between the richness of the pan drippings and the brightness of the wine. If you're worried about the turkey being dry, this is your insurance policy.
It's designed to be foolproof, provided you don't walk away from the stove while the butter is foaming.
The beauty of the ina garten turkey gravy approach is the use of a "base" and a "finish." By building the flavor with onions and wine first, and then whisking in the drippings at the end, you ensure the gravy doesn't break or separate.
It stays silky and clings to the food rather than puddling at the bottom of the plate.
But what about the thickness? We've all had gravy that's either like water or like wallpaper paste. The trick here is the ratio of flour to liquid and the gradual addition of the stock. By adding the liquids slowly, you give the starch time to hydrate without forming clumps.
Why This Version Works
The Nutty Base: Toasting the flour in butter for a few minutes removes the "raw" cereal flavor and creates a deeper, toasted aroma.
Acidity Balance: The dry white wine breaks down the heavy fats from the butter and drippings, preventing the sauce from feeling greasy on the palate.
Aromatic Foundation: Finely diced onions provide a subtle sweetness and texture that adds complexity beyond just salt and pepper.
Controlled Thickening: Using a whisk to gradually incorporate stock prevents the flour from "clumping" and ensures a velvety consistency.
| Goal | Fresh Drippings | Stock Shortcut | Impact |
|---|---|---|---|
| Flavor | Deep, roasted meat | Clean, salty savory | Drippings add "roast" soul |
| Texture | Slightly grainier | Perfectly smooth | Stock is more consistent |
| Effort | Requires roasting | Instant start | Shortcut is faster |
Component Analysis
| Ingredient | Science Role | Pro Secret |
|---|---|---|
| Unsalted Butter | Fat Medium | Use high fat European butter for more richness |
| All Purpose Flour | Thickening Agent | Whisk for exactly 3 mins to hit "pale gold" |
| Dry White Wine | Acid Component | Sauvignon Blanc works best to cut the fat |
| Turkey Stock | Volume & Base | Keep it warm before adding to prevent lumps |
Gathering Your Essentials
For the best results, get everything measured out before you turn on the heat. This moves fast, and you don't want to be hunting for the pepper grinder while your butter is burning.
- 4 tbsp unsalted butter Why this? Creates the fat base for the roux
- 1/4 cup all purpose flour Why this? The primary thickening agent
- 2 cups turkey or chicken stock Why this? Provides the main savory body
- 1/4 cup dry white wine Why this? Adds acidity and brightness
- 1 small onion, finely diced Why this? Adds aromatic depth
- 2 tbsp turkey pan drippings Why this? The concentrated essence of the roast
- salt to taste
- black pepper to taste
If you're short on pan drippings, don't panic. You can use a bit of extra butter or a teaspoon of beef base, though it won't have the same "roasted" punch. If you're planning a full spread, this pairs beautifully with an Ina Garten cranberry sauce for that classic sweet and savory contrast.
Tools For Quick Success
You don't need a fancy kitchen for this, but a few specific tools make the difference between a smooth sauce and a lumpy mess.
- Heavy bottomed saucepan: This prevents the butter from scorching in "hot spots."
- Wire whisk: Essential for breaking up flour clumps. A fork just won't cut it here.
- Fine mesh strainer: Not mandatory, but it's the only way to get that professional, "restaurant" smoothness.
- Wooden spoon: Great for sautéing the onions before you switch to the whisk.
Chef Note: If you have a choice, use a stainless steel pan. It allows you to see the color of the roux much more clearly than a dark non stick pan.
The Cooking Process
Follow these steps closely. The timing is tight, and the visual cues are your best guide.
Phase 1: Crafting the Flavor Base
- Melt the butter over medium heat until foaming. Note: Don't let it brown too deeply yet
- Stir in the diced onions and cook until translucent.
- Whisk in the flour and cook for 2-3 minutes until the mixture smells nutty and turns a pale gold.
- Gradually pour in the white wine and turkey stock, whisking constantly until no lumps remain.
Phase 2: Integrating the Pan Drippings
- Simmer the mixture until thickened and velvety.
- Heat the gravy base in a saucepan over medium heat and slowly whisk in the reserved turkey pan drippings. Note: Add these slowly to ensure they blend in
- Continue to whisk over medium heat until the gravy reaches a gentle simmer.
Phase 3: Achieving the Perfect Silkiness
- Taste and season with salt and pepper.
- Pass the mixture through a fine mesh strainer into your serving boat for a perfectly smooth finish.
Fixing Common Gravy Issues
Even the best of us hit a snag. The most common problem with this ina garten turkey gravy is the texture. If you see "beads" of flour, it usually means the stock was added too quickly or was too cold.
Troubleshooting Common Issues
| Issue | Solution |
|---|---|
| Why Your Gravy Has Lumps | Lumps happen when the flour doesn't have time to disperse. You can fix this by whisking vigorously over heat, but if they persist, a quick blitz with an immersion blender or passing it through a strai |
| Why Your Gravy Is Too Thin | If the sauce is too runny, it simply hasn't reduced enough. Keep it at a gentle simmer for another 3-5 minutes. If you're in a rush, whisk a tiny bit of cornstarch with cold water and stir it in. |
| Why Your Gravy Tastes Bland | Usually, this is a lack of salt or acidity. Add a pinch more salt or a tiny drop of lemon juice to wake up the flavors. |
Mistakes Checklist:
- ✓ Did you cook the flour until it smelled nutty?
- ✓ Did you add the stock gradually?
- ✓ Did you strain the onions for a smooth finish?
- ✓ Did you taste for salt after reducing the liquid?
Simple Swaps And Twists
Depending on what's in your pantry, you can tweak this recipe without ruining the vibe. For a more intense flavor, some people use an ina garten turkey gravy with cognac instead of white wine, which adds a darker, sweeter note.
For a Richer Profile
Swap the turkey stock for a high-quality bone broth. It adds more gelatin, resulting in a more "clingy" sauce.
For a Lighter Profile
Use a low sodium stock and replace 1 tablespoon of butter with a splash of olive oil.
For Ina Garten Gravy Without Drippings
If you didn't roast a bird, use 2 tbsp of melted butter mixed with 1/2 tsp of soy sauce or Worcestershire sauce. This mimics the depth of the pan drippings.
| Original Ingredient | Substitute | Why It Works |
|---|---|---|
| Dry White Wine | Apple Cider Vinegar (1 tbsp) | Similar acidity. Note: Much stronger, use sparingly |
| Turkey Stock | Chicken Stock | Almost identical flavor profile |
| Unsalted Butter | Ghee | Higher smoke point, adds a deeper nuttiness |
If you're preparing a large holiday meal, you might want a bit of variety. This savory sauce works great alongside a zesty wing sauce for an appetizer platter before the main event.
Adjusting the Batch Size
Scaling this is pretty straightforward, but you can't just multiply everything linearly and expect the same timing.
Scaling Down (Half Batch): Use a smaller saucepan to prevent the butter from spreading too thin and burning. Reduce the simmering time by about 20% since there's less liquid to evaporate.
Scaling Up (Double or Triple): Don't double the salt and pepper immediately. Increase them by 1.5x first, then taste and adjust. Use a larger pot to ensure you have enough room to whisk vigorously without splashing.
Gravy Truths
Myth: You must use a blender for smooth gravy. Actually, a fine mesh strainer is better. A blender can over aerate the sauce, making it look foamy rather than velvety.
Myth: Searing the flour "seals" the flavor. Searing doesn't seal anything; it changes the flavor. The "pale gold" color is about taste and removing the raw starch flavor, not about locking in juices.
Storage Guidelines
Refrigeration: Store in an airtight jar for 3-4 days. The gravy will thicken significantly in the fridge, turning almost into a jelly.
Freezing: This freezes surprisingly well for up to 2 months. Store in freezer safe containers, leaving a little room for expansion.
Reheating: Warm it slowly over medium low heat. Add a splash of water or stock to loosen it back up to that velvety consistency.
Zero Waste Tip: If you have leftover gravy, use it as a base for a "poutine" style potato dish the next day, or stir it into a pot of mashed cauliflower for an instant flavor boost.
Best Ways To Serve
The most obvious choice is over sliced turkey and mashed potatoes, but don't stop there. This sauce is an incredible topping for roasted carrots or Brussels sprouts.
For a real treat, serve it in a warmed gravy boat to keep it from thickening on the table. If you're doing a full on roast feast, I highly recommend pairing this with an Ina Garten horseradish sauce for the beef side of the table.
The key to the final presentation is the pour. Don't drown your food; instead, create a pool of gravy on the plate and let the turkey and sides sit on top of it. It looks cleaner and allows you to taste the individual components of the meal.
Recipe FAQs
How to fix lumpy gravy?
Whisk vigorously over heat. If lumps persist, pass the sauce through a fine mesh strainer for a smooth finish.
How to thicken gravy if it's too thin?
Simmer the mixture for another 3-5 minutes. This allows the liquid to reduce further and naturally thicken.
How to store leftover gravy?
Keep it in an airtight jar in the fridge. It stays fresh for 3-4 days. For other meal prep staples, see how we make our San Marzano sauce.
How to reheat frozen gravy?
Warm it slowly over medium low heat. Add a splash of stock to loosen the gravy back to a velvety consistency.
Is it true you must use a blender to get a smooth gravy?
No, this is a common misconception. Passing the gravy through a fine mesh strainer is the most effective way to ensure it is perfectly smooth.
How to incorporate turkey pan drippings?
Heat the gravy base in a saucepan over medium heat and slowly whisk in the drippings. Continue whisking until the gravy reaches a gentle simmer.
How to prevent a raw flour taste?
Cook the flour and butter mixture for 2-3 minutes. Ensure the mixture smells nutty and turns a pale gold before adding the stock and wine.
Ina Garten Turkey Gravy