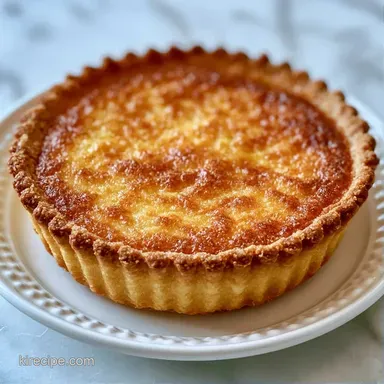
Homemade Cheesecake Crust Without Graham Crackers in 25 Min
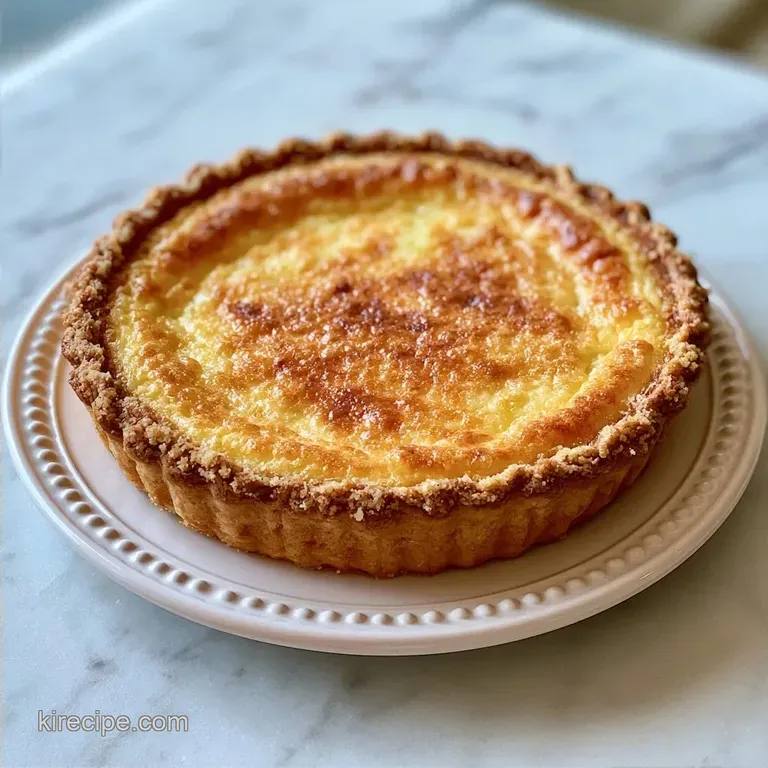
- Time: 10 min active + 15 min baking
- Flavor/Texture Hook: Buttery, mahogany colored, and shattering
- Perfect for: Baker who wants a stable, flour based foundation
The scent of butter browning in the oven is a clear sign that you've upgraded your dessert repertoire. Many assume a box of crackers is mandatory for a cheesecake, but that's a myth. You can actually produce a more stable and polished result using a basic flour and butter mixture.
I used to stress when I found I was missing graham crackers mid-prep. I tried mashing up cereal or pretzels, but the texture was never quite right. Moving to a shortbread style base was a total game changer.
This flour based cheesecake crust offers a sturdy foundation for your filling. It is less prone to sogginess than traditional crumb crusts, and the taste is closer to a rich biscuit than a honey cracker.
Why This Method Works
Cold Butter: Keeping the fat chilled prevents it from soaking fully into the flour, which creates tiny steam pockets that make the crust snap.
Par Baking: Pre cooking the base creates a structural seal. This stops the cheesecake filling from leaking into the crust.
Powdered Sugar: Using a fine sugar ensures a smooth, tight crumb without the graininess of granulated sugar. If you prefer a traditional cracker feel, my Crackers in 1 Hour recipe is a great alternative.
| Method | Prep Time | Texture | Best For |
|---|---|---|---|
| Cracker Crumbs | 5 mins | Sandy/Soft | Quick, honey flavored bases |
| Flour Base | 15 mins | Shortbread Snap | Heavy fillings, stable slices |
Homemade Cheesecake Crust Without Graham Crackers
The trick to a stable base is the ratio of fat to flour. By using 115g of chilled butter for 180g of flour, you get a dough that is pliable enough to press into a pan but dry enough to crisp up.
This approach removes the reliance on store-bought biscuits. You control the sweetness and the salt, which means your cheesecake doesn't taste like a pre packaged snack.
Pantry Staples Needed
| Ingredient | Purpose | Alternative |
|---|---|---|
| All purpose flour | Gives the dough structure | Almond flour (denser, nuttier) |
| Unsalted butter | Ensures a crisp snap | Vegan butter (comparable result) |
| Powdered sugar | Adds sweetness and cohesion | Granulated sugar (grainier) |
| Salt | Balances the richness | Fine sea salt |
- 1 ½ cups (180g) All purpose flour Why this? The gluten content ensures a stable foundation
- ½ cup (115g) Unsalted butter, chilled and cubed Why this? Keeping the fat cold produces a flaky, shortbread texture
- ¼ cup (50g) Powdered sugar Why this? It integrates faster than granulated sugar
- ¼ tsp (1.5g) Salt Why this? It balances the intense buttery taste
Essential Kitchen Tools
- 9 inch springform pan: Essential for removing the cake without breaking the edges.
- Food processor: The fastest way to get the butter incorporated without overworking the dough.
- Measuring cup: Use the flat bottom to press the dough evenly.
- Kitchen scale: Essential for precision in baking.
Putting It Together
- Pulse the flour, powdered sugar, and salt in a food processor until just combined.
- Mix in the chilled, cubed butter using short bursts. Continue until the texture is like coarse sand with a few pea-sized lumps remaining. Note: Over processing may melt the butter and make the crust too tough.
- Transfer the crumbly mixture to a 9 inch springform pan.
- Using the flat end of a measuring cup, press the dough firmly across the base.
- Gently press the dough up the sides to create a small rim. Note: Ensure there are no gaps to prevent the filling from leaking.
- Bake for 12–15 minutes at 175°C (350°F).
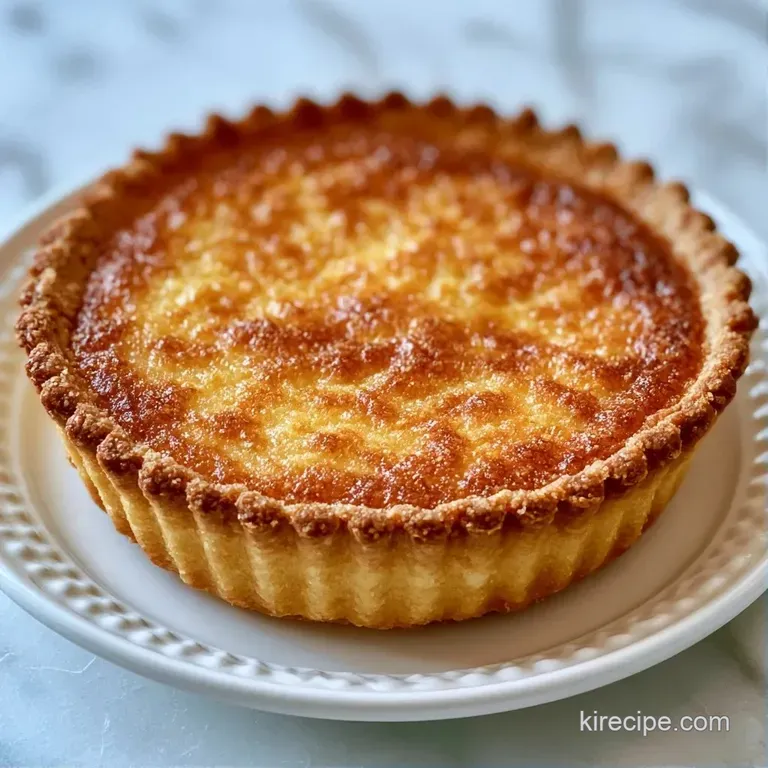
- Take it out of the oven once the edges are mahogany colored and the center smells nutty.
- Let the crust cool entirely before adding the cheesecake batter.
Fixing Common Issues
If your base feels soft after baking, you likely didn't par bake it long enough. The center should be firm to the touch before it leaves the oven.
When the dough cracks while you're pressing it, it's usually because the butter is too cold or the flour is too dry. Just pinch the cracks together with your fingers.
If the thickness is uneven, your slices will be unstable. Always use a flat bottomed tool rather than your fingers to distribute the dough.
| Problem | Fix |
|---|---|
| Soggy Base | Bake for 2 extra minutes until deep gold |
| Dough Cracking | Press more firmly or add 1 tsp melted butter |
| Uneven Thickness | Use a measuring cup to level the surface |
Adjusting the Batch
For a smaller 6 inch pan: Use half the ingredients. Reduce the baking time by about 20% and check for doneness at 10 minutes.
For a larger 10 inch pan: Increase ingredients by 1.5x. Lower the oven temperature to 160°C (325°F) and extend the bake time by 5 minutes to ensure the center cooks through.
For double batches: Work in two separate bowls if your food processor is small. Do not overmix the dough, or you'll lose the shortbread texture.
- For a firmer set
- Chill the baked crust for 30 mins before filling.
- For a sweeter taste
- Add 10g more powdered sugar.
- For nuttier flavor
- Brown the butter and chill it again before cubing.
Storage and Leftovers
Keep raw dough chilled for a maximum of 2 days. Wrap it securely in plastic to stop it from picking up other smells from the refrigerator.
Pre-baked shells will remain fresh for 3 days if kept in a sealed container on the counter. For longer preservation, you can freeze them for as long as 2 months.
To crisp up a frozen crust, heat it in the oven at 150°C (300°F) for 5 minutes. Don't toss the dough scraps bake them into little cookies for a fast treat.
Fun Flavor Variations
For an almond crunch: Substitute 30g of flour with almond meal. This creates a richer flavor that pairs beautifully with fruit toppings, similar to the base in my Peach Crisp recipe.
For a deep chocolate base: Trade 20g of flour for premium cocoa powder. This version is an excellent match for raspberry or white chocolate cheesecake.
For a gluten-free version: Choose a gluten-free all-purpose flour substitute. Since the crust can be a bit more delicate, make sure to press it firmly into the pan.
For a vegan alternative: Use chilled plant based butter blocks. Avoid substitutes based on oil, as they won't offer the structural integrity required for a proper shortbread snap.
What to Serve With It
Since this Graham Cracker-Free Homemade Cheesecake Crust is quite decadent, a bit of acidity helps. Try topping the finished cake with a zesty squeeze of lemon or a bright raspberry coulis to cut through the richness of the butter.
While fresh berries are a classic pairing, toasted hazelnuts provide a wonderful crunch. Thanks to its stability compared to traditional cracker crusts, this base easily supports denser additions such as thick apple compotes.
For perfectly sharp edges, slice the dessert while it is still cold. This shortbread foundation offers significantly more structural integrity than crumb based options.
Recipe FAQs
What can I use instead of graham crackers for a cheesecake base?
A blend of all-purpose flour, chilled butter, and powdered sugar works perfectly.
Tip: If you enjoyed mastering the crumbly texture here, see how we balance dry components in our snack mix.
How to shape the crust in the pan?
Press the crumbly dough firmly into the bottom and slightly up the sides of a 9 inch springform pan.
Tip: Use the flat bottom of a measuring cup to get a perfectly even surface.
Is it true that homemade flour crusts are less stable than graham cracker versions?
No, and here's why. The butter and flour bind together to form a sturdy, shortbread like base.
Tip: Bake at 350°F (175°C) for 12 15 minutes until edges are mahogany colored.
Can the unbaked dough be stored?
Store the mixture in the refrigerator for up to 2 days wrapped tightly in plastic.
Tip: Let the baked crust cool completely before pouring in the batter.
Cheesecake Crust Without Graham Crackers