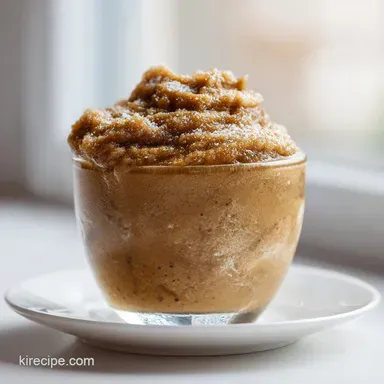
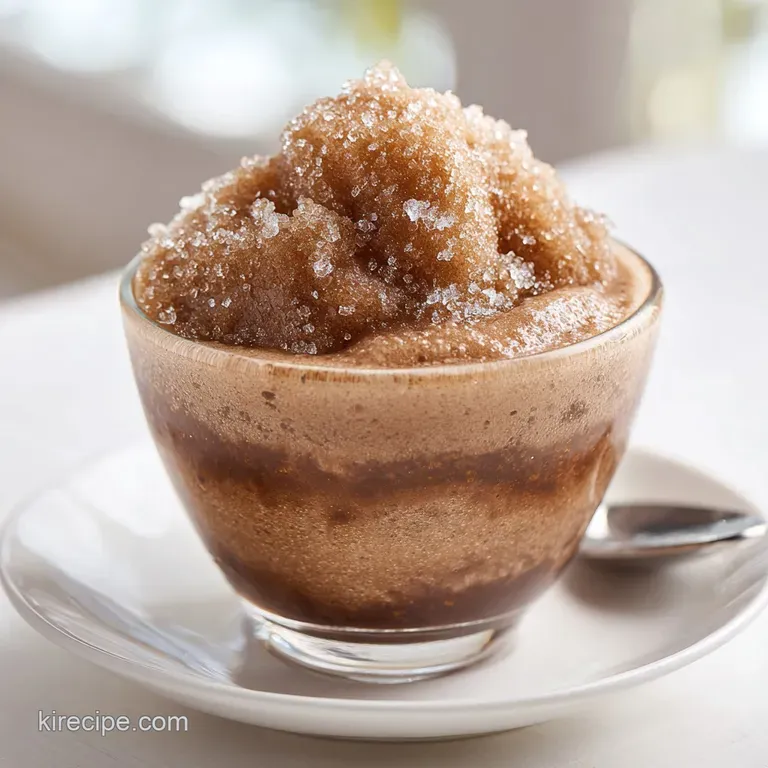
Low-Sugar Coffee Slushie: Velvety and Smooth
- Time:10 minutes active = Total 10 minutes
- Flavor/Texture Hook: Frosty, velvety, and smooth
- Perfect for: budget-friendly morning treats or afternoon pick me-ups
The sound of a blender shattering four cups of ice is the only alarm clock I need on a Saturday. There is something about that aggressive whirl and the sudden shift from chunky ice to a silky, frozen cloud that just feels like a win.
I remember spending way too much money at cafes, wondering why my home attempts always turned into either a watery mess or a block of ice that could break my blender blades.
The breakthrough happened when I stopped trying to use just sugar and ice. I realized the "secret" wasn't a fancy machine, but a stabilizer. I started experimenting with budget friendly pantry staples, and that's when the sugar-free vanilla pudding mix entered the chat.
It completely changed the game, giving me that thick, commercial consistency without the sugar crash.
Now, getting a Perfect Coffee Slushie at Home is my go to hack for when I want something fancy but don't want to spend seven dollars on a drink. It is fast, wallet friendly, and honestly, tastes better because you can control exactly how strong the coffee is. Let's get into how to actually make this work.
Secrets to a Smooth Blend
When you blend ice and liquid, they naturally want to separate. The coffee sinks, the ice floats, and you end up with a drink that's half water and half syrup. To get a Perfect Coffee Slushie at Home, we need to trick the ingredients into staying together.
The Stabilizer: The pudding mix contains modified cornstarch and gums that bind the water and fats together. This creates a network that traps air and ice crystals, keeping the drink thick.
Temperature Control: Using chilled coffee instead of hot or room temp brew prevents the ice from melting instantly. According to Serious Eats, controlling the temperature of your base is key to maintaining a stable emulsion in frozen drinks.
Air Incorporation: Rapidly increasing the blender speed forces air into the mixture. This aeration creates that "frothy" feel rather than just a crushed ice texture.
| Base Choice | Prep Time | Texture | Best For |
|---|---|---|---|
| Cold Brew | 12 hours | Silky/Deep | Low acidity lovers |
| Chilled Drip | 10 minutes | Bright/Sharp | Quick cravings |
| Instant Coffee | 2 minutes | Consistent | Ultra budget days |
Ingredient Deep Dive
I've tried every combination under the sun, and these specific items are the ones that actually deliver. Don't bother with low-fat alternatives here, as the fat is what carries the coffee flavor and provides the velvety mouthfeel.
| Ingredient | Science Role | Pro Secret |
|---|---|---|
| Chilled Coffee | Flavor Base | Use a double strength brew to avoid "watering down" |
| Pudding Mix | Texture Binder | sugar-free versions provide the thickest "cling" |
| Almond Milk | Creaminess | Add a pinch of salt to make the vanilla pop |
| Maple Syrup | Sweetener | Warm it slightly if it's too thick to pour |
Equipment Needed
You don't need a professional kitchen to pull this off. A decent high speed blender is the only non negotiable tool here. If you have a smaller blender, just work in two batches so you don't burn out the motor.
I usually use a standard blender such as a Ninja or Nutribullet. The key is having blades that can handle ice without needing a constant stream of liquid. A few measuring cups and a tall glass are all else you'll need. Trust me, don't try this in a food processor, the texture will be too grainy.
How to Make It
Right then, let's get to the actual process. The order of ingredients matters here to ensure the blades don't get stuck.
- Pour the 2 cups of strong chilled coffee, 1 cup of almond milk or half and half, and 2 tbsp of maple syrup or monk fruit sweetener into the blender jar. Note: Liquids first prevents the powder from sticking to the bottom.
- Stir in 1 tsp of vanilla extract.
- Dump in 4 cups of ice cubes.
- Sprinkle 2 tbsp of sugar-free vanilla pudding mix over the ice. Note: Putting the powder on top helps it incorporate as the ice breaks down.
- Start the blender on the lowest setting to break up the large ice chunks.
- Rapidly increase to the highest speed. Blend for 45-60 seconds until the mixture looks uniform and velvety.
- Stop the blender and check for soft peaks.
- If it is too thin, add another 1/2 cup of ice and pulse.
- If it is too thick, add a splash more coffee and pulse until it pours smoothly.
Chef's Tip: To get an even frostier result, freeze your glasses for 10 minutes before pouring. It stops the slushie from melting the second it hits the glass.
Fix Common Problems
Even with a simple recipe, things can go sideways. Usually, it comes down to the ratio of ice to liquid or the speed of the blend.
Troubleshooting Common Issues
| Issue | Solution |
|---|---|
| Slushie too runny | This usually happens if your coffee wasn't chilled enough or if you over blended. When the blades run too long, they generate heat, which melts the ice. If this happens, stop immediately and add more |
| Why are there still ice chunks | If you see "snowballs" in your drink, your blender might be struggling with the volume. Try pushing the ingredients down with a tamper or stop the blender and stir the mixture manually before blending |
| Why does it separate | Separation is usually a sign that the stabilizer (the pudding mix) wasn't fully incorporated. Make sure you are blending on high for at least 45 seconds to fully activate the binding agents. |
Common Mistakes Checklist
- ✓ Using hot coffee (melts ice instantly)
- ✓ Blending on low speed for too long
- ✓ Skipping the pudding mix
- ✓ Adding ice before liquids
Dietary Adaptations
This recipe is already quite flexible. If you want to change the flavor profile or fit it into a specific diet, it's easy to swap things around.
For a completely dairy-free version, the almond milk in the schema works great, but oat milk provides an even creamier, more neutral base. If you are going for a "Keto" version, stick with the monk fruit sweetener and the sugar-free pudding mix.
If you want to turn this into a mocha treat, you can add two tablespoons of chocolate syrup. If you have some Black Label Chocolate Sauce on hand, swirl that into the glass before pouring for a professional look.
Decision Shortcut:
- If you want it sweeter → Add 1 tbsp more maple syrup.
- If you want it bolder → Use cold brew concentrate.
- If you want it fluffier → Add a tablespoon of Greek yogurt.
Storage and Waste
I'll be honest, this drink is best the second it leaves the blender. However, if you have leftovers, you can store them in an airtight container in the freezer for up to 2 days.
To reheat (or rather, re slush), let it thaw for 10 minutes on the counter and then pulse it in the blender for 10 seconds. Don't microwave it, or you'll just have a lukewarm coffee soup.
As for zero waste, don't throw away your used coffee grounds. They make an incredible exfoliating body scrub when mixed with a bit of coconut oil. Alternatively, toss them in your compost pile. If you enjoy other baked treats with your coffee, my Blueberry Sourdough Scones are a fantastic pairing.
Presentation Tips
If you're making this for guests or just want to feel like you're at a cafe, the presentation is everything. It's all about the layers and the textures.
Start by drizzling maple syrup or chocolate sauce down the inside walls of a tall glass. This creates those "tiger stripes" you see in professional drinks. Pour the slushie in slowly, and top it with a dollop of whipped cream.
For a final touch, sprinkle a bit of cinnamon or cocoa powder on top. Use a wide straw, as a thin one will get clogged by the thick, velvety consistency. It makes the experience feel more like a treat and less like a quick caffeine fix.
Coffee Slushie Myths
You might hear that you need a "blender with a tamper" to get this thickness. That's not true. While a tamper helps, any high speed blender can do the job if you stop and stir the mixture once halfway through.
Another myth is that you have to use expensive syrups for the flavor. Simple maple syrup or even a bit of honey works just as well. The flavor comes from the strength of the coffee and the vanilla, not the brand of sweetener you use.
Finally, some people think you should freeze the coffee into cubes first. While that prevents dilution, it actually makes the blending process take longer and can lead to a grainier texture. Using loose ice and chilled liquid allows for a more aerated, velvety result.
Recipe FAQs
How to make coffee into slushie?
Combine chilled coffee, milk, and sweetener in a high speed blender. Add ice and vanilla pudding mix, then blend on the lowest setting before increasing to high for 45 60 seconds.
How to make good frozen coffee at home?
Use sugar-free vanilla pudding mix as a stabilizer. This prevents the ice and coffee from separating, creating a velvety, professional texture instead of a watery consistency.
Can diabetics drink cold brew coffee?
Yes, especially when using the ingredients in this recipe. The use of monk fruit sweetener and sugar-free pudding mix keeps the glycemic impact low.
How to make a simple slushie at home?
Blend ice with a liquid base and a thickening agent. For this coffee version, blend chilled coffee and almond milk with pudding mix until the texture is uniform.
What if the slushie is too runny?
Add an additional 1/2 cup of ice. Runny textures typically occur if the coffee wasn't chilled enough or if over blending generated too much heat.
Can I store leftovers?
Yes, store them in an airtight container in the freezer for up to 2 days. Thaw for 10 minutes on the counter and pulse in the blender for 10 seconds to restore the texture. If you enjoy prepping components in advance, you can apply the same storage habits to our San Marzano sauce.
Is it true that I should microwave the frozen slushie to reheat it?
No, this is a common misconception. Microwaving results in lukewarm coffee soup; instead, let the drink thaw briefly and pulse it in a blender to recover the slushie consistency.
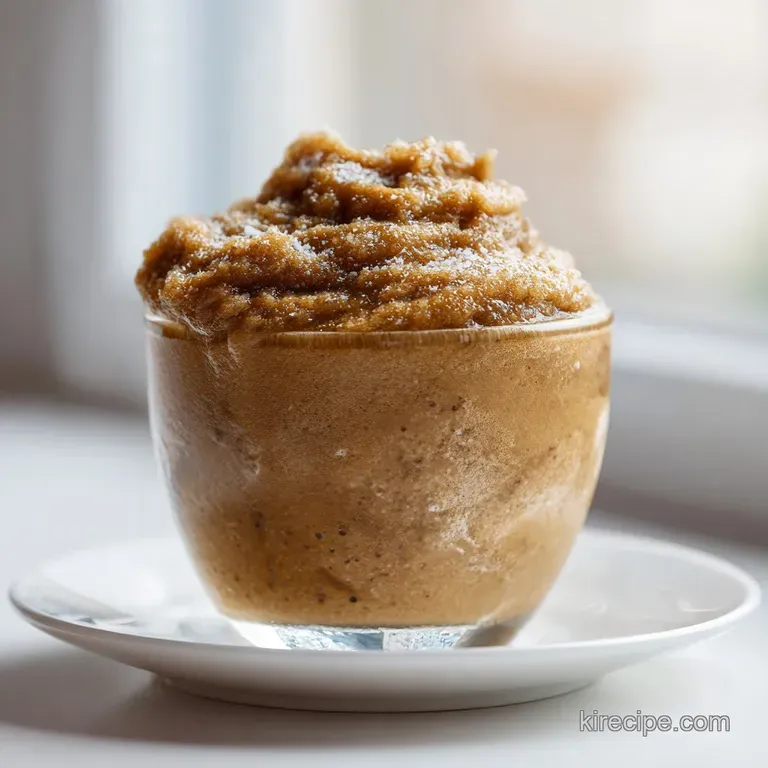
Perfect Coffee Slushie Home